Using IntelliJ IDEA
IntelliJ IDEA is a Java IDE developed by Jetbrains. Support for Scala is provided via plugins. A free community edition as well as a commercial edition are available. This is a short guide for installing and using IntelliJ IDEA Community edition for developing one’s programming assignments in the course.
Note
At the moment, official support is only provided for the Eclipse Scala IDE (see Using Eclipse) as installed in the Linux classrooms at Aalto University. In other words, use of any other development environment(s) is entirely at your own risk. However, the CS-A1110/A1120/A1140 programming courses in Aalto will change from Eclipse to IDEA in 2020/2021; thus trying to use IDEA already at this point is probably a good idea if you have time to do this.
Installation
If you can’t install software on your own computer, take a look at Using Eclipse and IntelliJ IDEA via Aalto VDI, and then continue with “Workflow” below.
Otherwise:
First, make sure you have Java installed. Use Java version 8.
Windows and Mac: Go to the Download IntelliJ IDEA page and under the Community tab, hit “Download”. Run the installer and follow the straightforward instructions.
Ubuntu Linux:
Install “IDEA Community” from “Ubuntu Software” if you have admin rights and want to make a systemwide installation.
If you don’t have admin rights (or want to install the IDE only for the current user), go to the Download IntelliJ IDEA page and under the Community tab, hit “Download”. Extract the downloaded
ideaIC-2020.2.tar.gzfile and follow the instructions in theInstall-Linux-tar.txttext file in the created directory.
Setup
When running for the first time, IDEA asks for some preferences, choose what you will. Eventually, a prompt about downloading featured plugins should appear. Install the Scala plugin if offered
Alternatively, you can install plugins from Preferences or via the Welcome view’s Configure: Navigate to Plugins, search for Scala and click Install
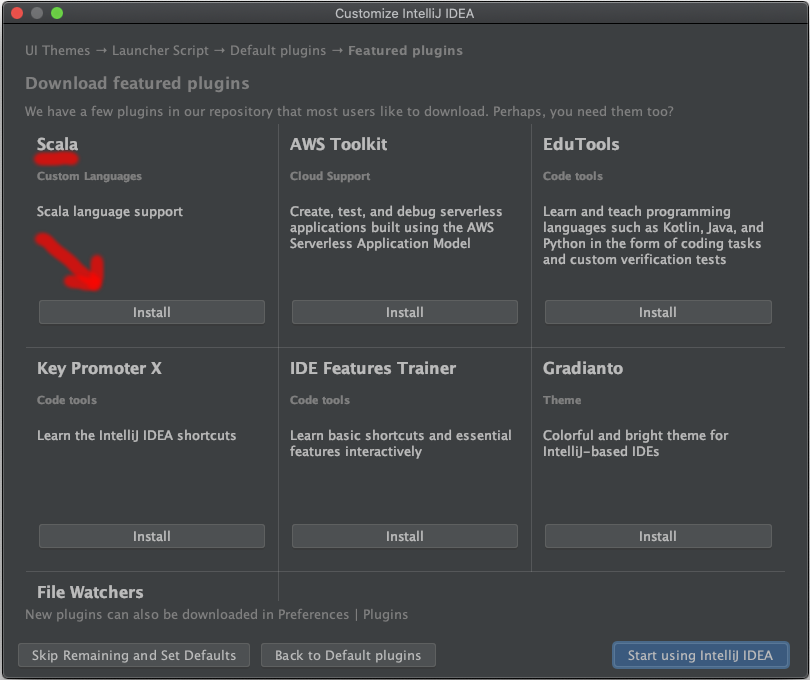
Scala plugin installation
Workflow
To work with a new programming assignment, download its source package in the A+ system. Use the “Scala sbt packages”, not “Scala Eclipse packages”. Extract the zip file in some folder.
To import a project, in the Welcome view: Open or Import and select the extracted folder.
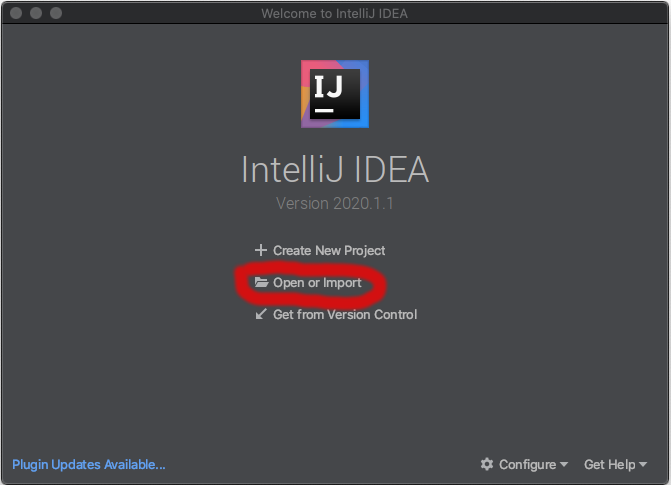
Figure: the welcome window
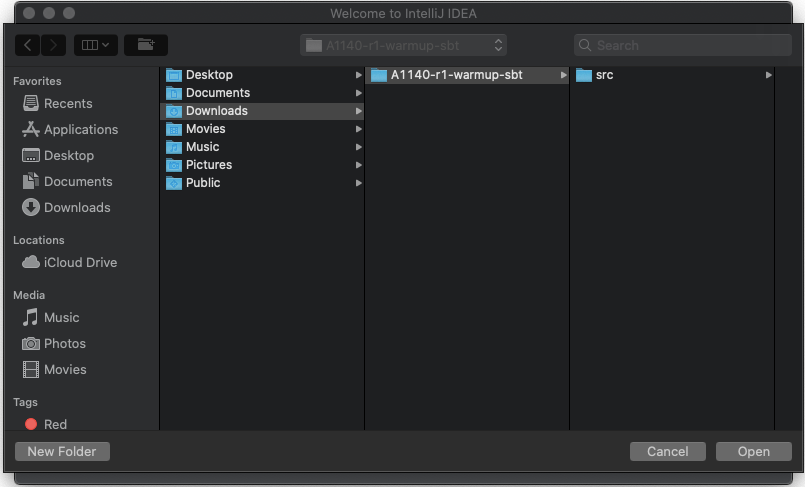
Figure: selecting the assignment package folder to import
To import a project, in the Welcome view: Import Project and select the appropriate sbt project folder. Next, tick Import project from external model, choose sbt and click Next. Finally, untick Allow overriding sbt version and click Finish
Develop your solution, the code to be implemented is marked with
???.
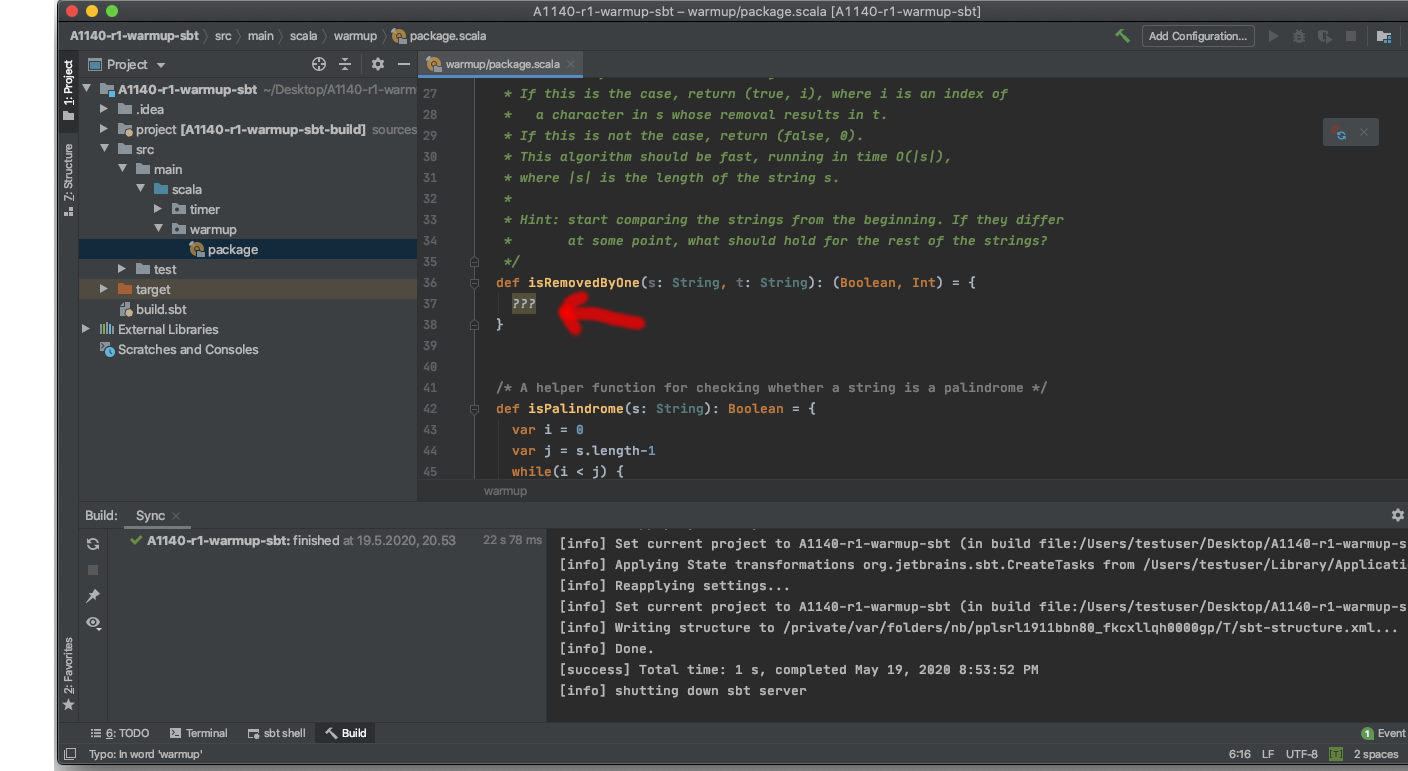
Figure: insert your code in ???
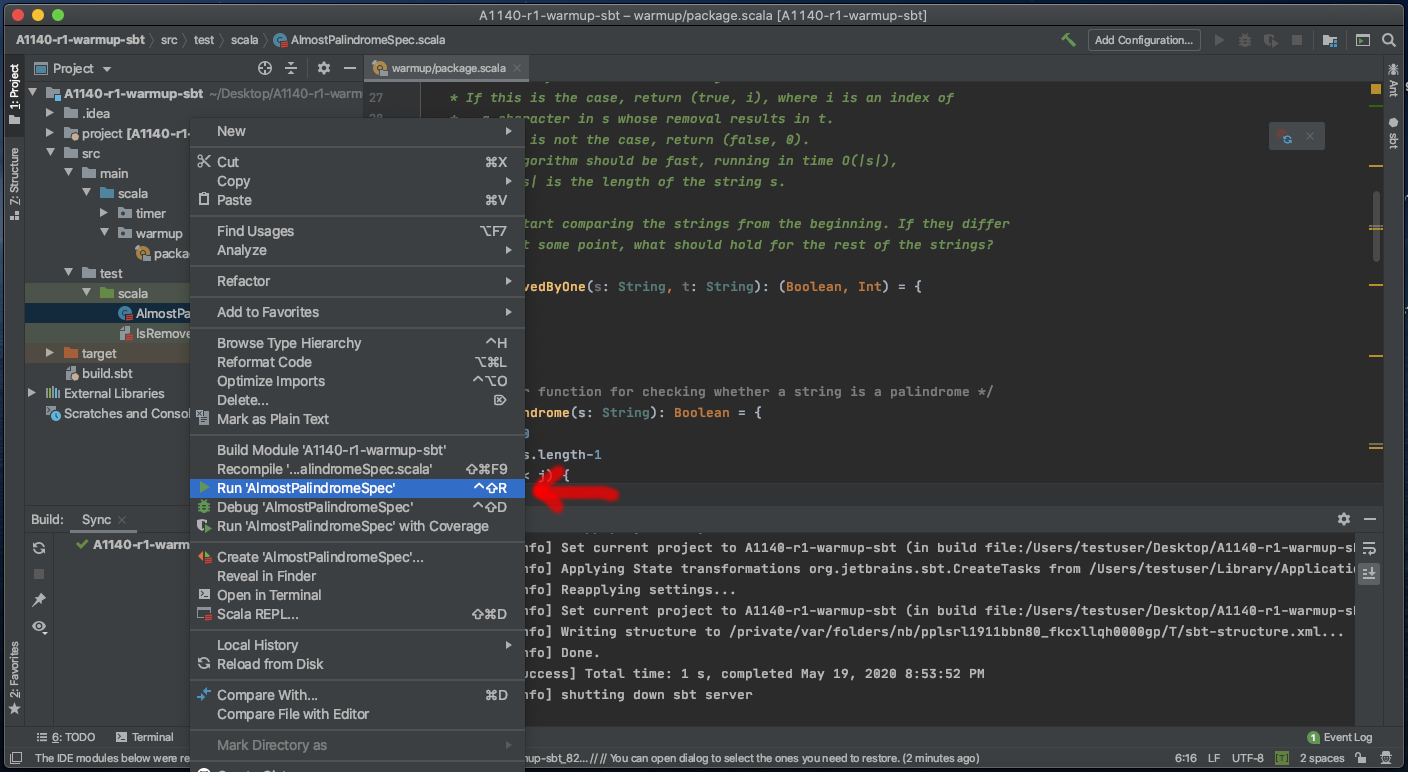
Figure: always run the unit tests before submitting to grading
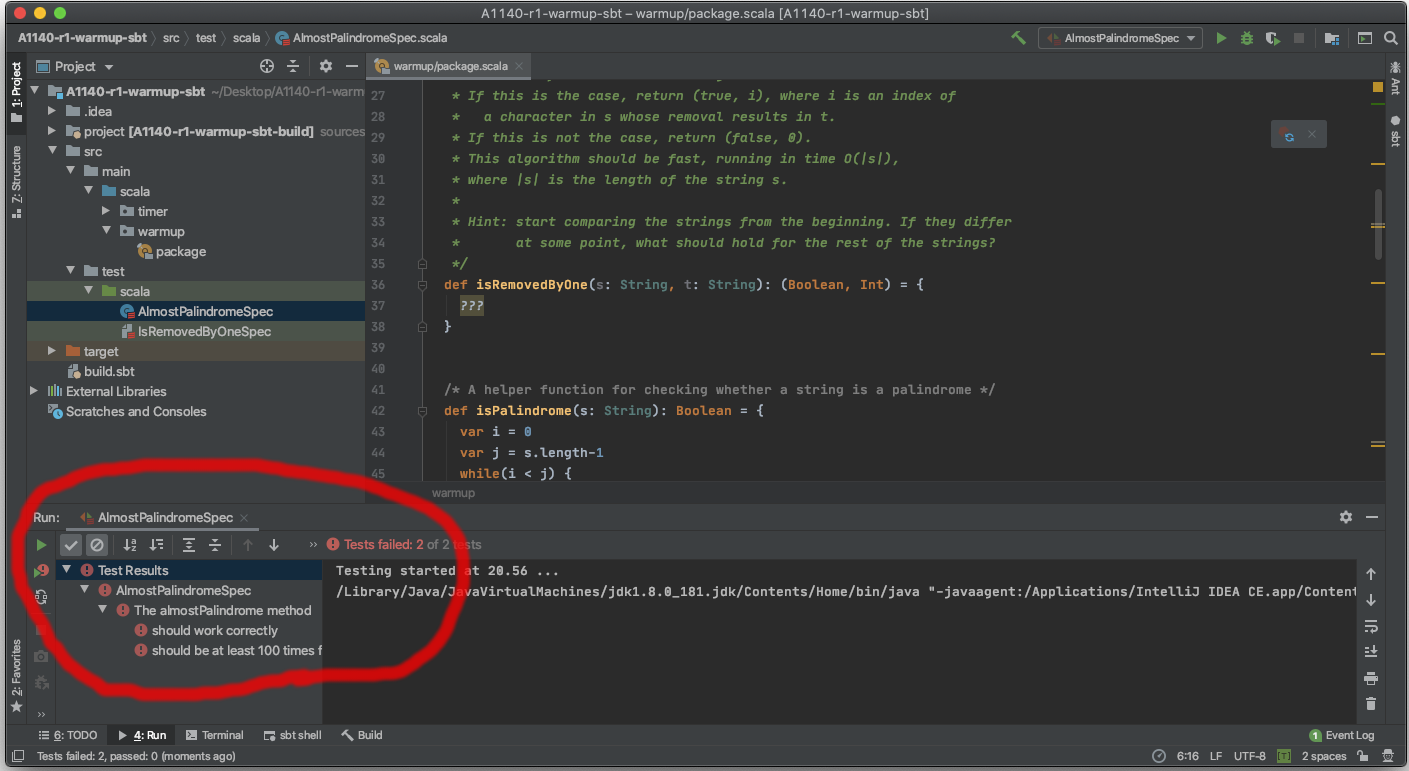
Figure: check that the unit tests passed
If you do not wish to manually run the tests, you can open “sbt shell” and type
~test. This runs the tests in the “sbt shell” automatically every time you save some modifications.
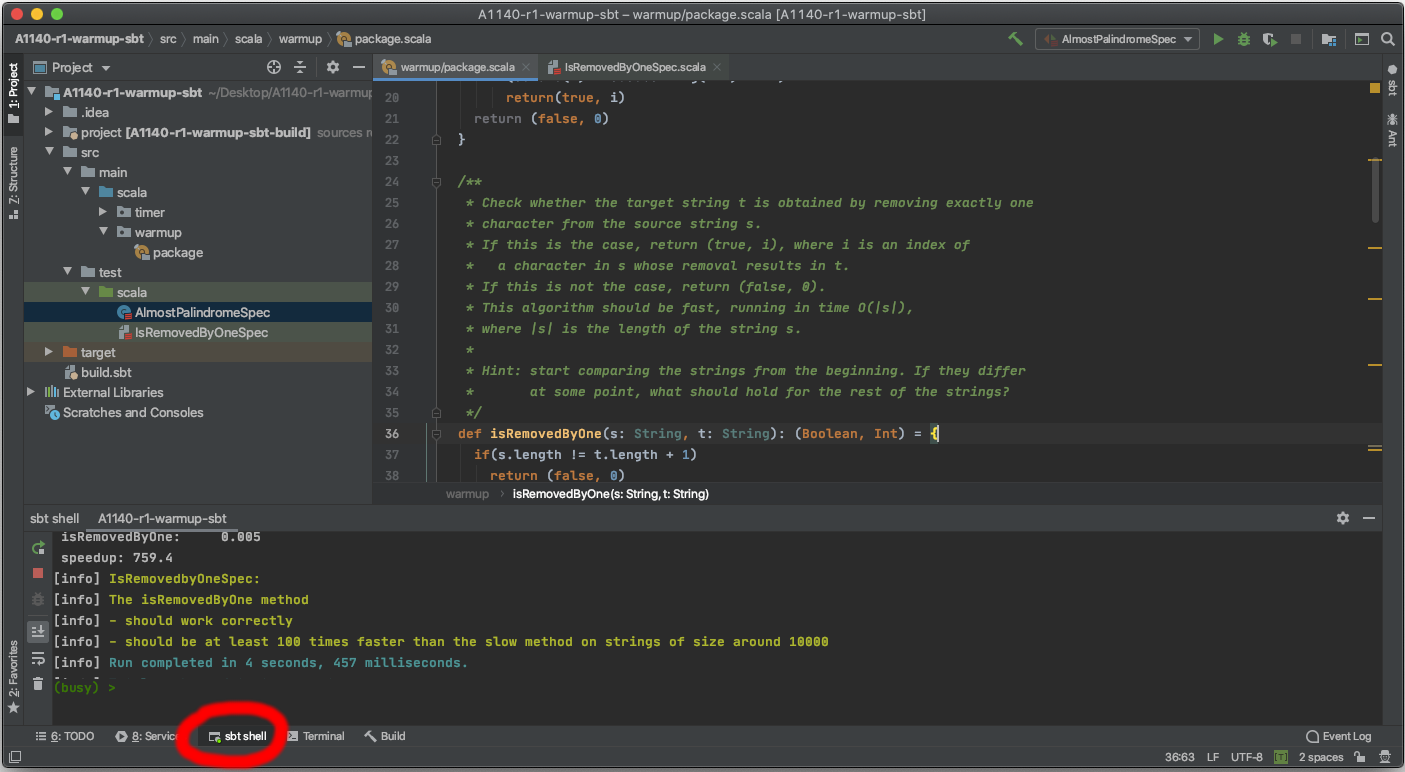
Figure: using “sbt shell” and ~test to continuously run the unit tests
Some assignment may contain some other executables in addition to the unit tests. You can run them in the same way and inspect the results as explained in the assignment instructions.
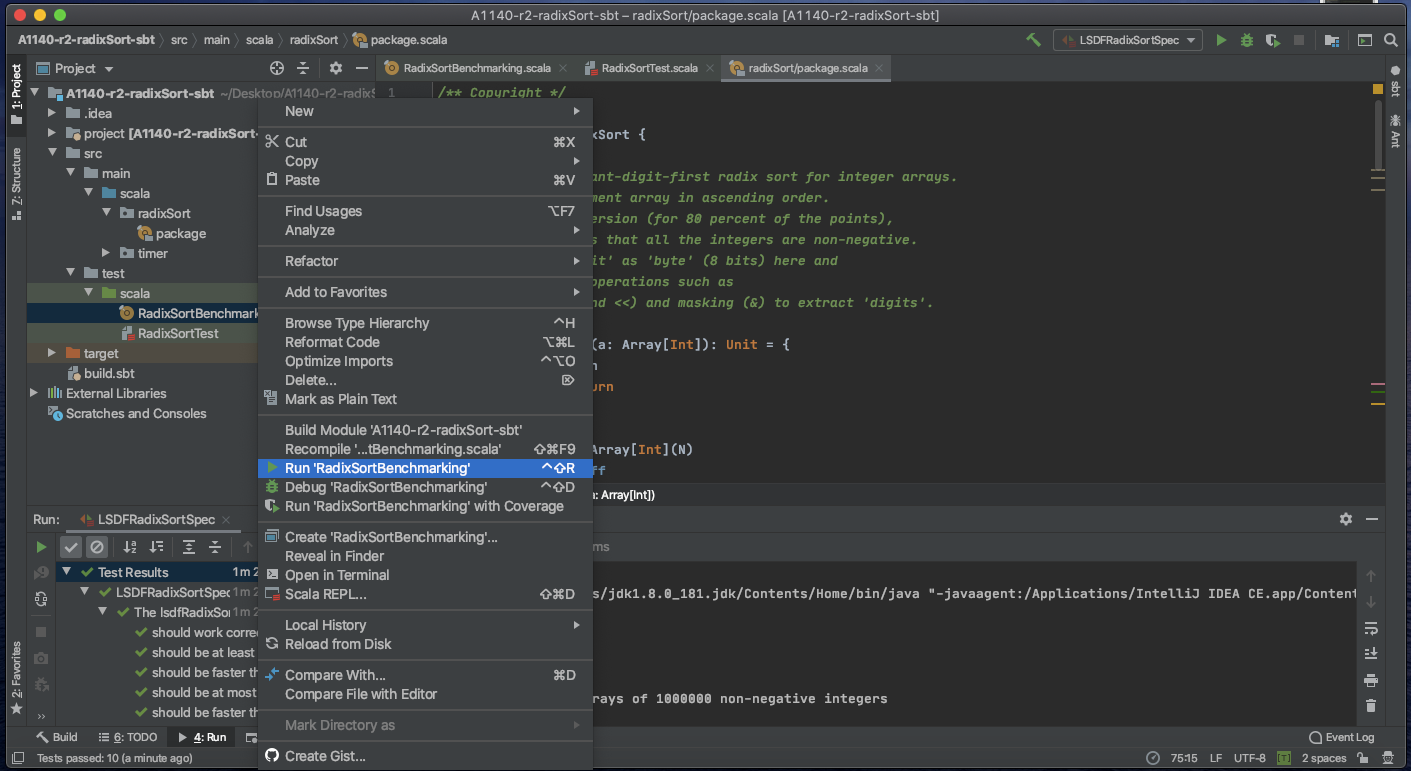
Figure: running the benchmarks in the radixSort assignment
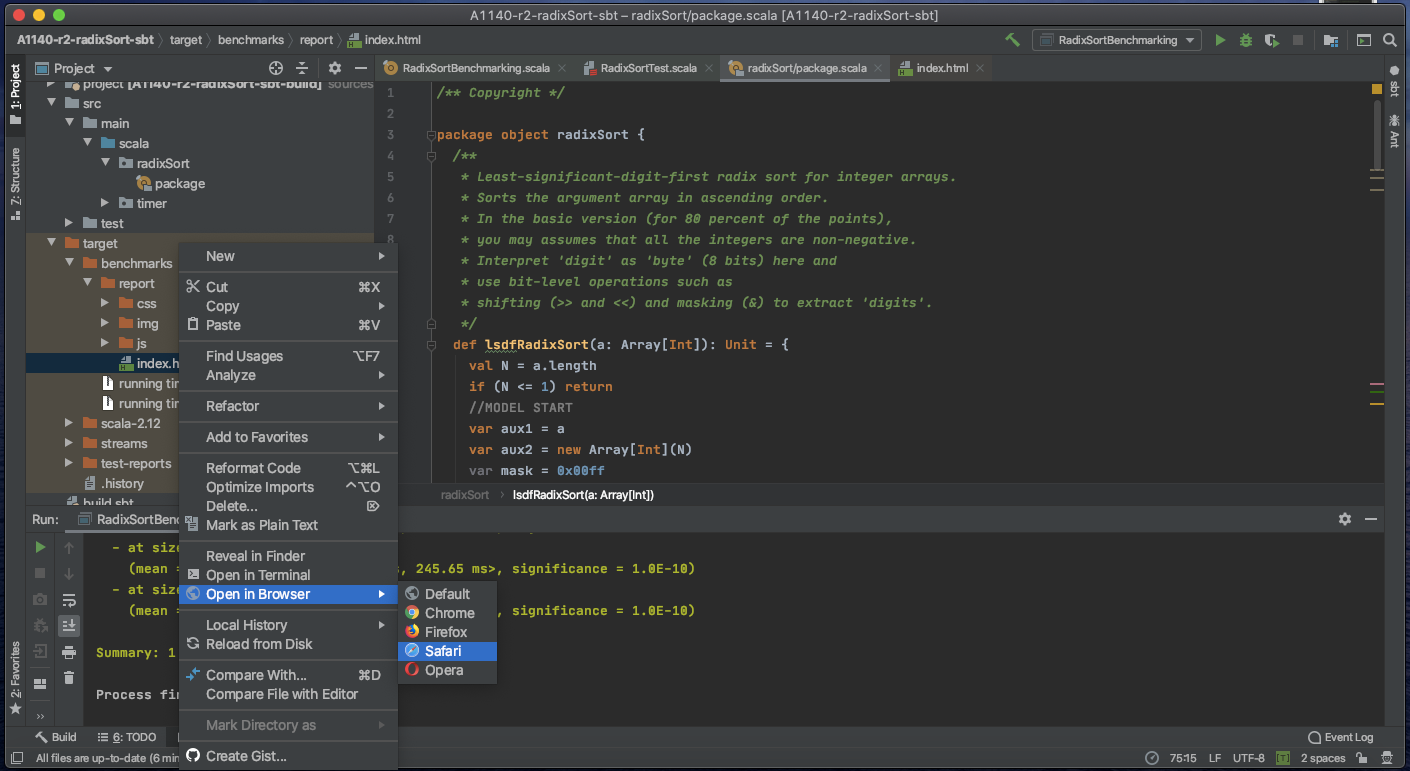
Figure: opening the benchmark results
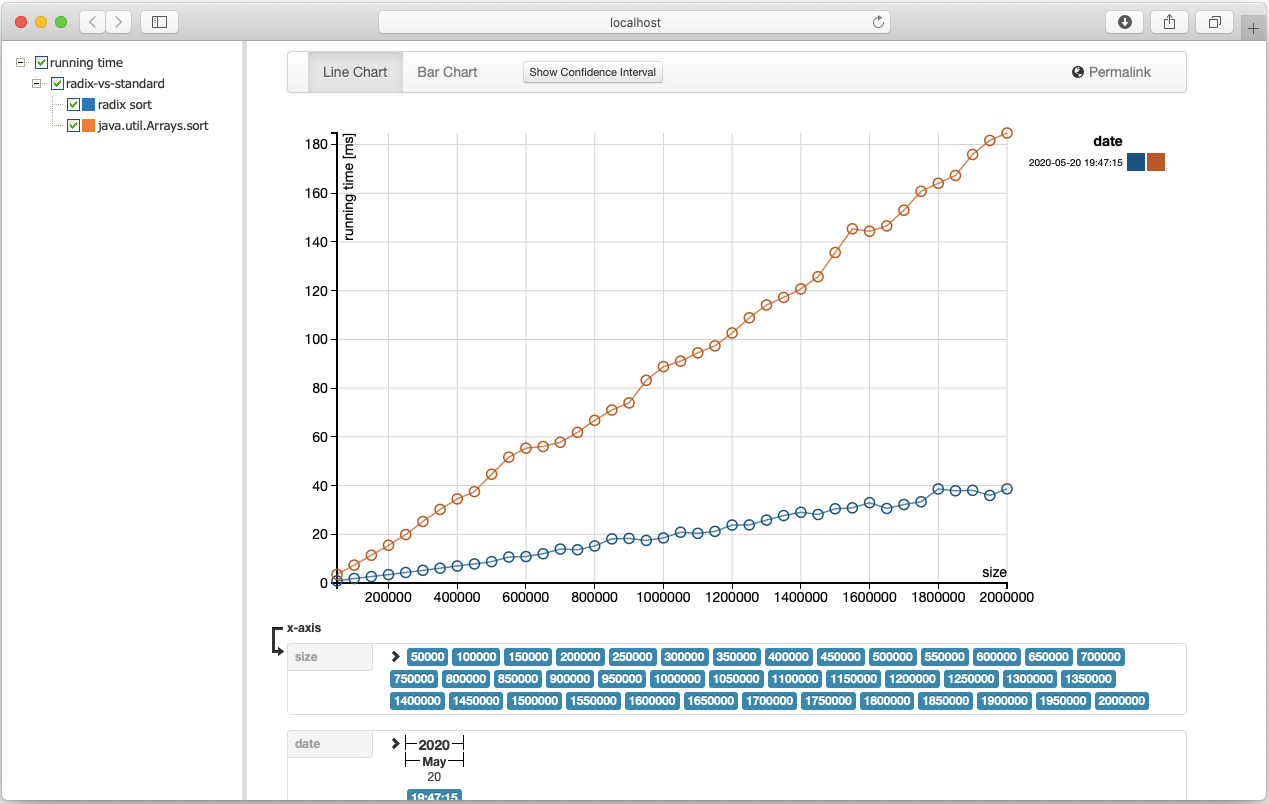
Figure: inspecting the benchmark results in a web browser