Using Eclipse
Scala IDE for Eclipse is a modified version of the open-source cross-platform development environment Eclipse. As in the courses CS-A1110 Programming 1 in Autumn 2019 and CS-A1120 Programming 2 in Spring 2020, it is the “official” IDE to use in CS-A1140 in Autumn 2020. However, all these courses will start using the IntelliJ IDEA IDE (see Using IntelliJ IDEA) in the next iteration, so you are also encouraged to try that IDE if you have time to do it.
This is a short guide for installing and using Scala IDE for Eclipse for developing one’s programming assignments in the course.
Installation
If you can’t install software on your own computer, take a look at Using Eclipse and IntelliJ IDEA via Aalto VDI, and then continue with “Setup” and “Workflow” below.
Otherwise:
First, make sure you have Java installed. Use Java version 8.
Go to the Scala IDE for Eclipse home page, click Download IDE and choose the downloadable according to your system.
Unzip the Eclipse application to the location of your choosing.
In macOS, unzipping happens automatically. If there is a complaint that “Eclipse is damaged” when you try to open it, these instructions may help.
Setup
Make a new workspace folder for the assignments of the course.
Warning
On Windows machines, please notice that the paths (C:/Users/… or similar) to the Eclipse tool and to the workspace folder may not contain any non-ASCII characters such as ä or ö as they will likely cause some cryptic “MalformedInputException” error messages.
Download the A1140-libs zip file and unzip it in the workspace folder.
Start Eclipse and select the workspace folder you just created.
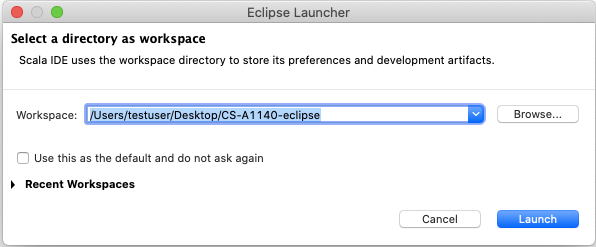
Figure: Workspace prompt
Import the A1140-libs project first as it contains some libraries used in the assignments.
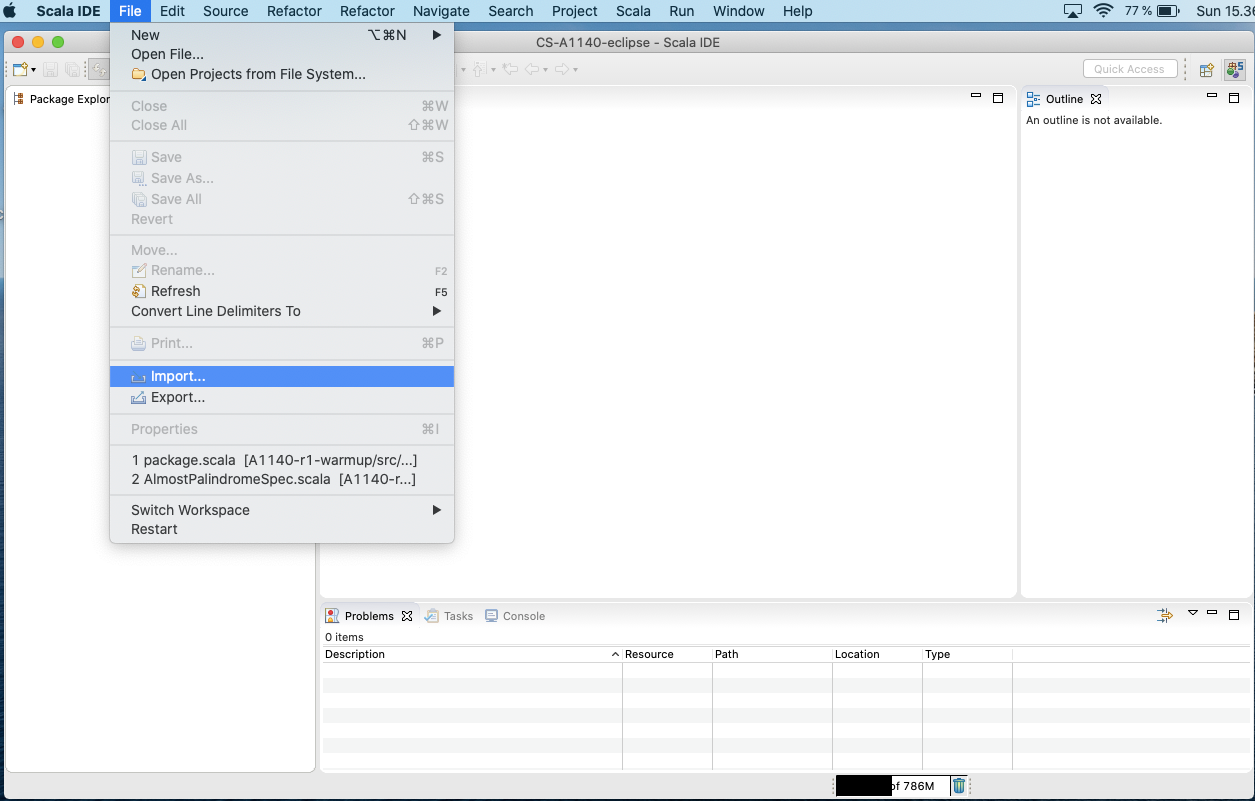
Figure: Import, part 1
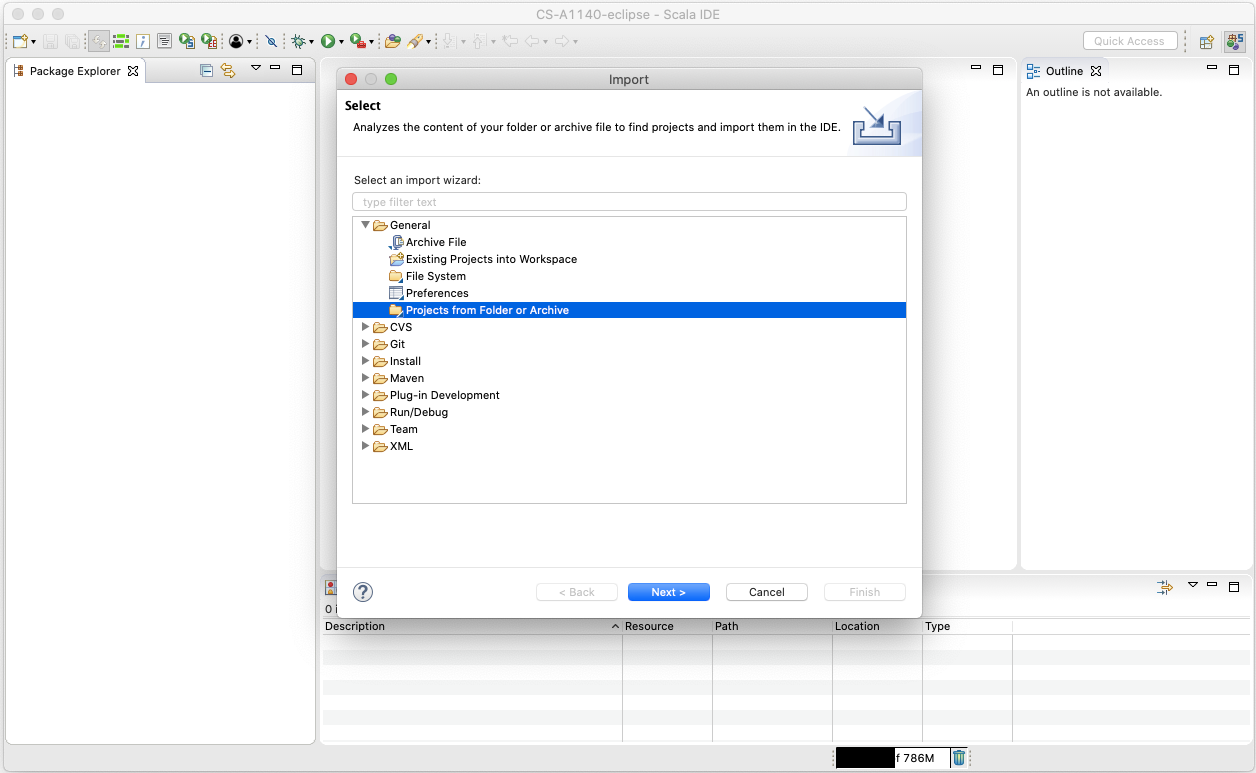
Figure: Import, part 2
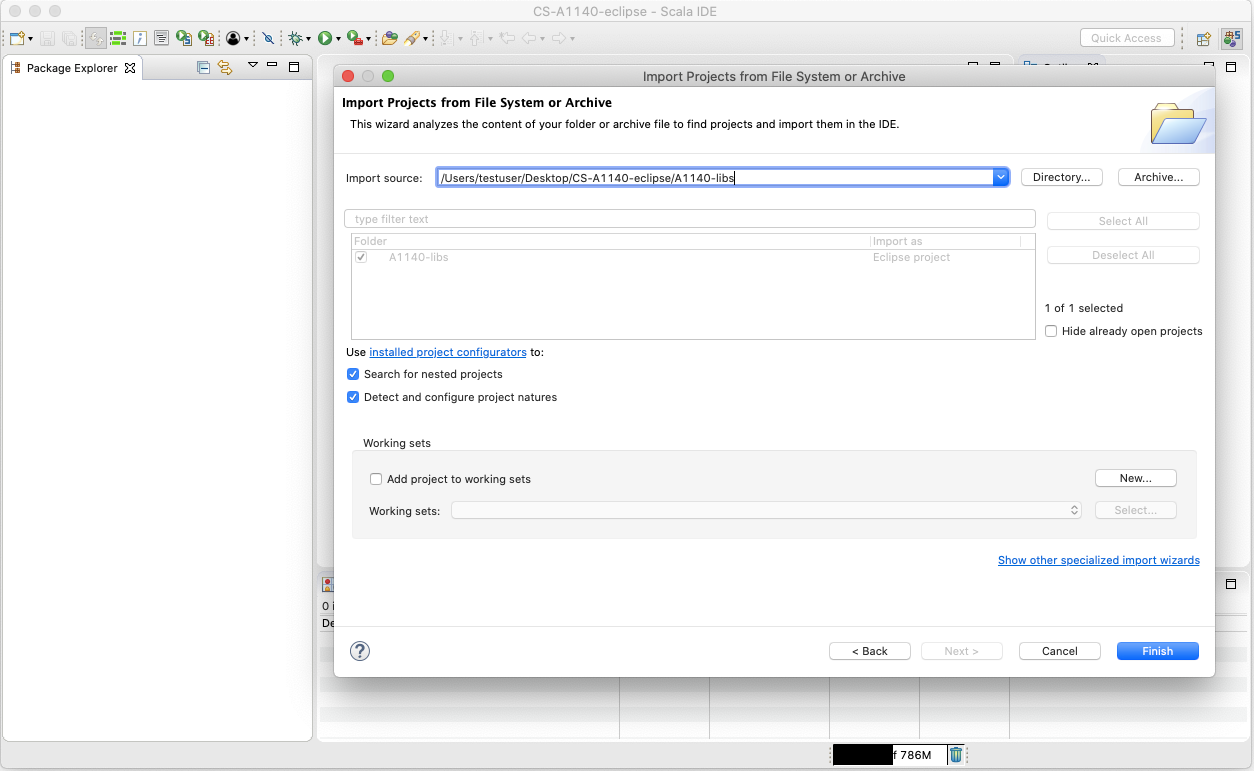
Figure: Import, part 3
Workflow
First, download an assignment project forlder from A+ and unzip it in the workspace folder.
Then, import it.
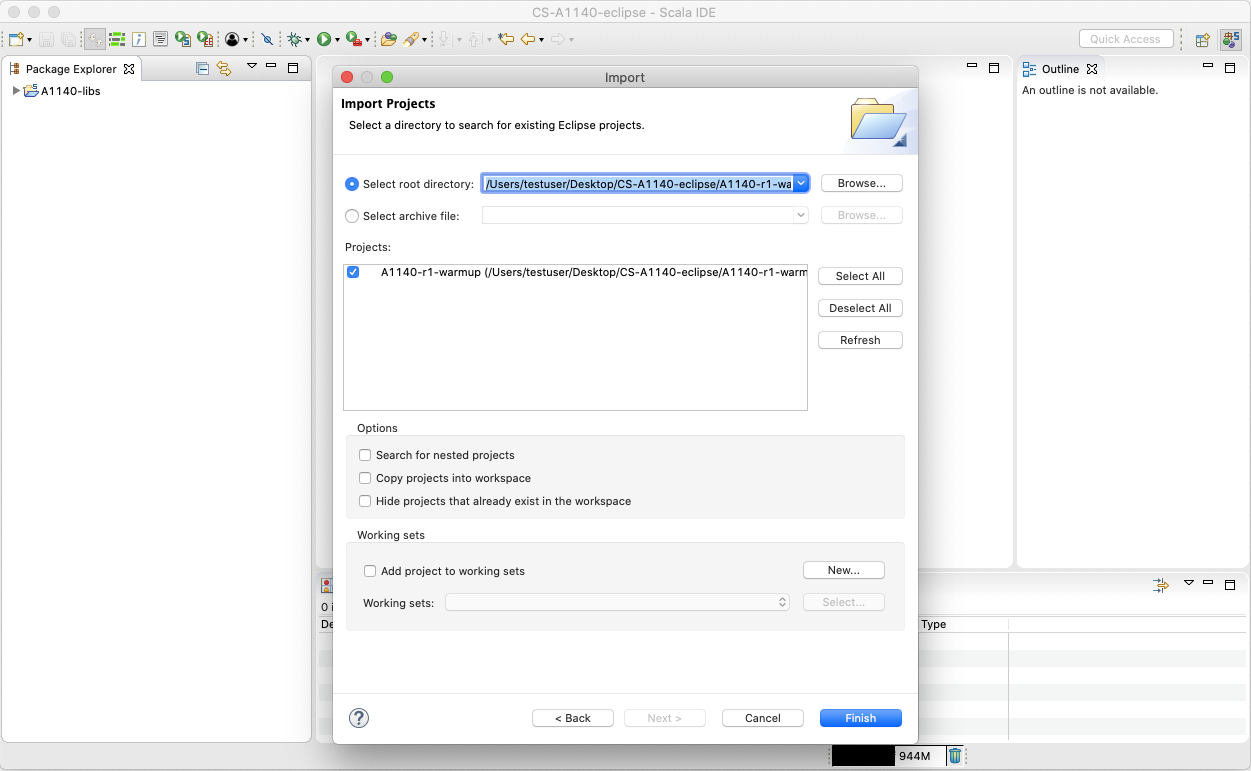
Figure: Importing an assignment project
Next, develop your solution. The places you should insert your code are usually marked with
???.
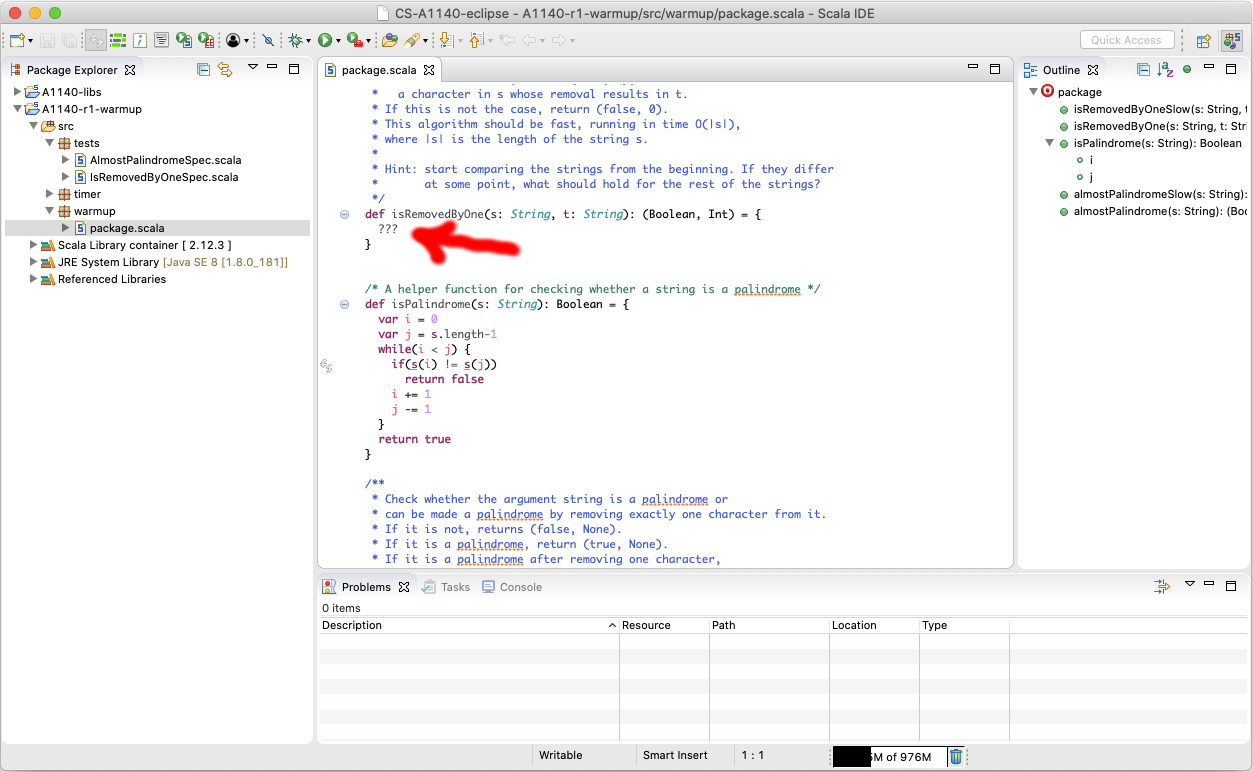
Figure: Develop your solution.
Remember to save the changes and after that, check that the “Problems” tab is empty (meaning that your solution compiled succesfully).
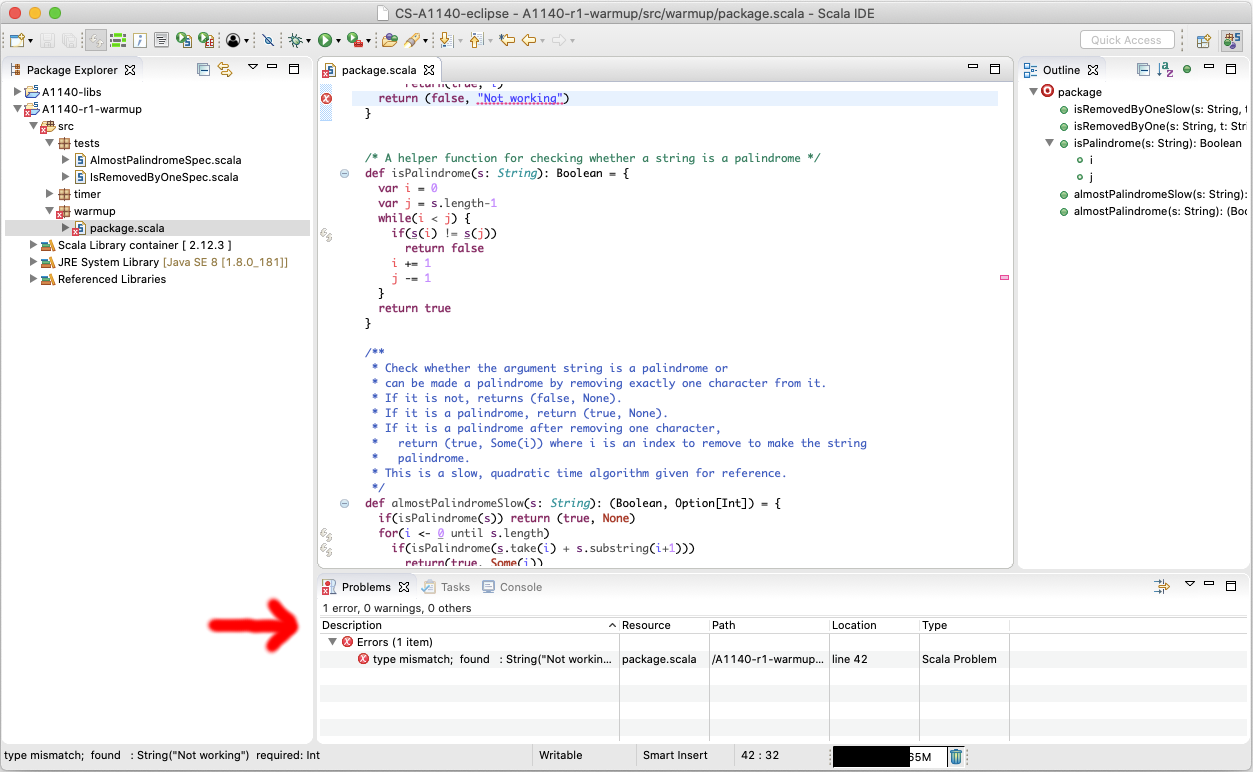
Figure: The “Problems” tab should not contain errors!
Always run the unit tests and check whether they passed or not. Note: if you forgot to save the changes or the “Problems” tab is not empty, your changes in the code were not compiled and a previously compiled version may be tested — you’ll get confused when you inspect the results and wonder why nothing improved.
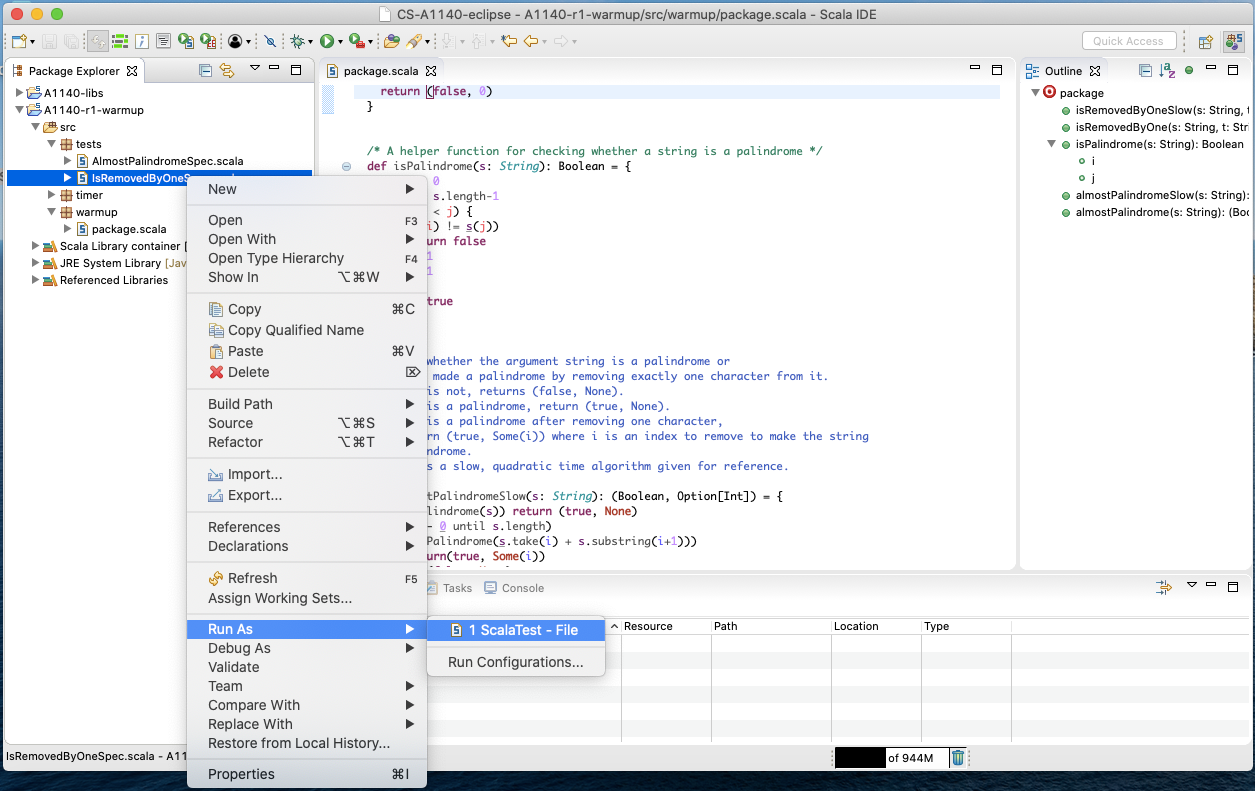
Figure: Running unit tests.
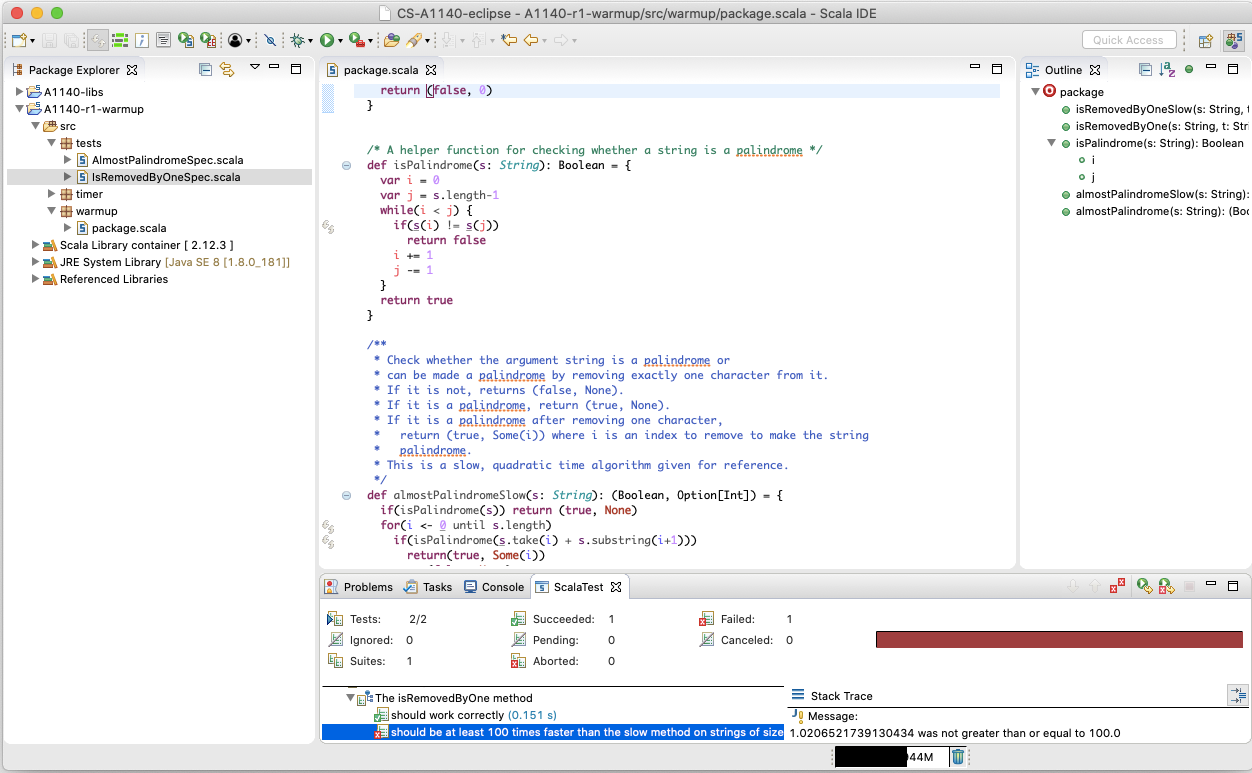
Figure: Inspecting test results.
When you are happy with your solution, submit it for grading in A+.