Installing an IDE for Windows
Installation Video (in Finnish)
Python-ohjelmointiympäristön asentaminen Windows-ympäristöön
Installing Python
First step is to install Python itself. Navigate to Pythonin site and download the latest version.
Run the downloaded exe file.
Choose Install Now so the installation executable can take care of everything. In some cases it is better to customise your installation. If you know what you are doing, do so.
Python is now installed on your computer and you can move to install the IDE.
Installing PyCharm
Notice, that PyCharm is already installed on the Windows Workstations, and the only thing you need to do is to save your projects on the Z-folder so they’ll be available on all computers.
Navigate to PyCharm website and download the Community Edition.
Run the downloaded exe file.
Choose your preferred settings.

Run PyCharm
Choose your preferred theme.
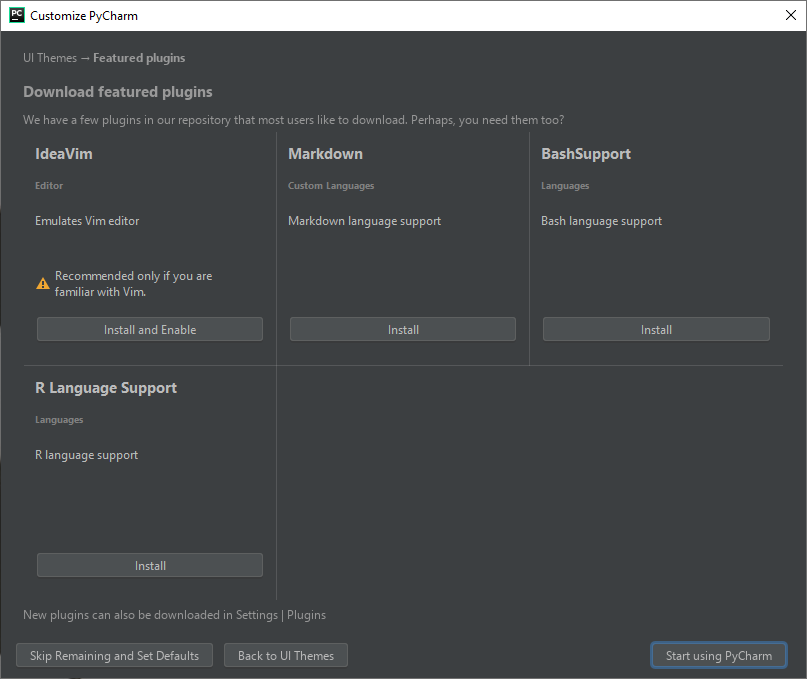
Choose your preferred plugins.

Create a new project and add a new file to this project.
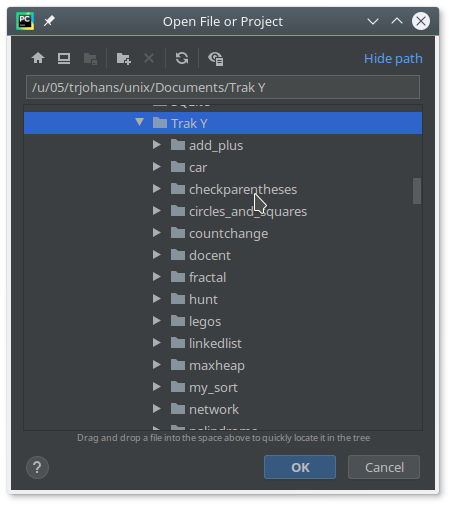
Alternatively you can import files to PyCharm by going to Open, and choosing a template folder or a file.

Write some code.
Installing Plugins in PyCharm
Plugins offer extra functionality in addition to Python’s default packages. Next we will install plugins numpy and scipy. Installing is easiest by clicking the Terminal button on PyCharm and then writing pip install <plugin name>, so in our case pip install numpy and pip install scipy.
Succesful install looks like this:
In addition to terminal, plugins can also be installed with a graphical user interface. Choose File -> Settings
In Settings choose your project and subsection Project Interpreter
In Project Interpreter menu, press the + button oto open Available Packages menu.
Write numpy in to the search box, and press the Install Package button to install plugin.